Today I have a treat for you.
Amber, a former design classmate, is taking us on a tour of her home.
The transformation is amazing and incredibly thrifty!
Hey everyone! My name is Amber, and I was so excited and extremely flattered when Danielle wanted to feature my home on her blog.
Over the past 3 years my husband and I have been transforming our 1940's house into a home, and doing it all on a very tight budget. Danielle wanted me to share some before and afters and a few details about what we did. Our living room is the first stop on the tour.
Here is what it looked like on the day we moved in:

And this is what it looks like now.


This room has changed slowly over the 3 years we have been here. Minor changes included painting and replacing the lighting, and the major project we did about a year and a half ago was refinishing the existing hardwood floors. We refinished every room on the main level, except for the kitchen and bathroom which do not have hardwood. It was a lot of work but the outcome looks amazing, and we figured we saved at least $1500 doing it ourselves!
Just off the living room is the dining room. It is one of my favorite rooms in the house. The shape of the room with the corner built-ins gives it unique and charming character.
Here is the before:

After:

I love it's simple elegance. The light fixture was actually a lamp shade I bought from Downeast Home for $4.00. We then purchased a light kit for $12.00, and for less than $20.00 we made a pendant.
Off the dining room is the kitchen. This room was a bit of a nightmare when we moved in.
Here it is on move in day:

After:

In the kitchen we spent less than $400. Our projects included repairing the plaster walls that the previous owner ruined while attempting to remove the wallpaper, painted walls and cabinets, replaced flooring, added baseboards, and replaced cabinet hardware. For the flooring we decided to go with peel and stick laminate tiles. The cabinets are original to the house and need to be replaced, but we don't have the funds for that. I didn't want to spend a lot on flooring in a kitchen that needs to be completely redone. We only spent $130 on the laminate tile and most people actually think it is real tile! I would love to replace the blue countertops someday and change out the light above the sink.
Next on the tour is the bathroom. It is the smallest room in the house, but I think we have spent the most money on it. Let me show you the pictures first before I go into detail.
Before:

After:

We did the bathroom in two phases. The first included painting, replacing the flooring and moulding, replacing the light fixture and toilet, and sinking the existing mirror into the wall to give the room more visual space. That reno cost approximately $300.

Then about a year later we decided to tackle the bathtub surround. My husband replaced the old pink tile with white subway tile. We also replaced all the fixtures with brushed nickel. That reno cost approximately another $350. Totaling for the bathroom $650.
The next room is my daughters room. This is also one of my favorite rooms in the house.
Before:


I put together the bedding myself. I bought the bumper and the sheet. I made the ruffled crib skirt and added matching ties to the bumper. I spent approximately $80 on the bedding. My husband cut out the "E" from left over wood scraps, and I made the tissue paper pom poms.

The paint, accessories, curtains, and bedding totaled less than $200. With furniture we spent less than $600 total on the room.
Now the master bedroom, which the word "master" is completely an understatement. It's a pretty tiny room.
Before:

Now:


I say "now" because it's still a work in progress. I really haven't done much to it, but when you are on a tight budget rooms come together slowly. I made the headboard for around $60. The sunburst mirror is one a made using Danielle's tutorial! Someday I would like to replace the lamps and the plastic drawers we currently use as nightstands. This makeover includes paint, curtains, headboard, and the mirror totaling approximately $160.
The last room on the tour is my newly finished craft room. It was a small 7'X8' room in our basement that was completely dingy and unorganized. So over the period of 6 months it went from this:
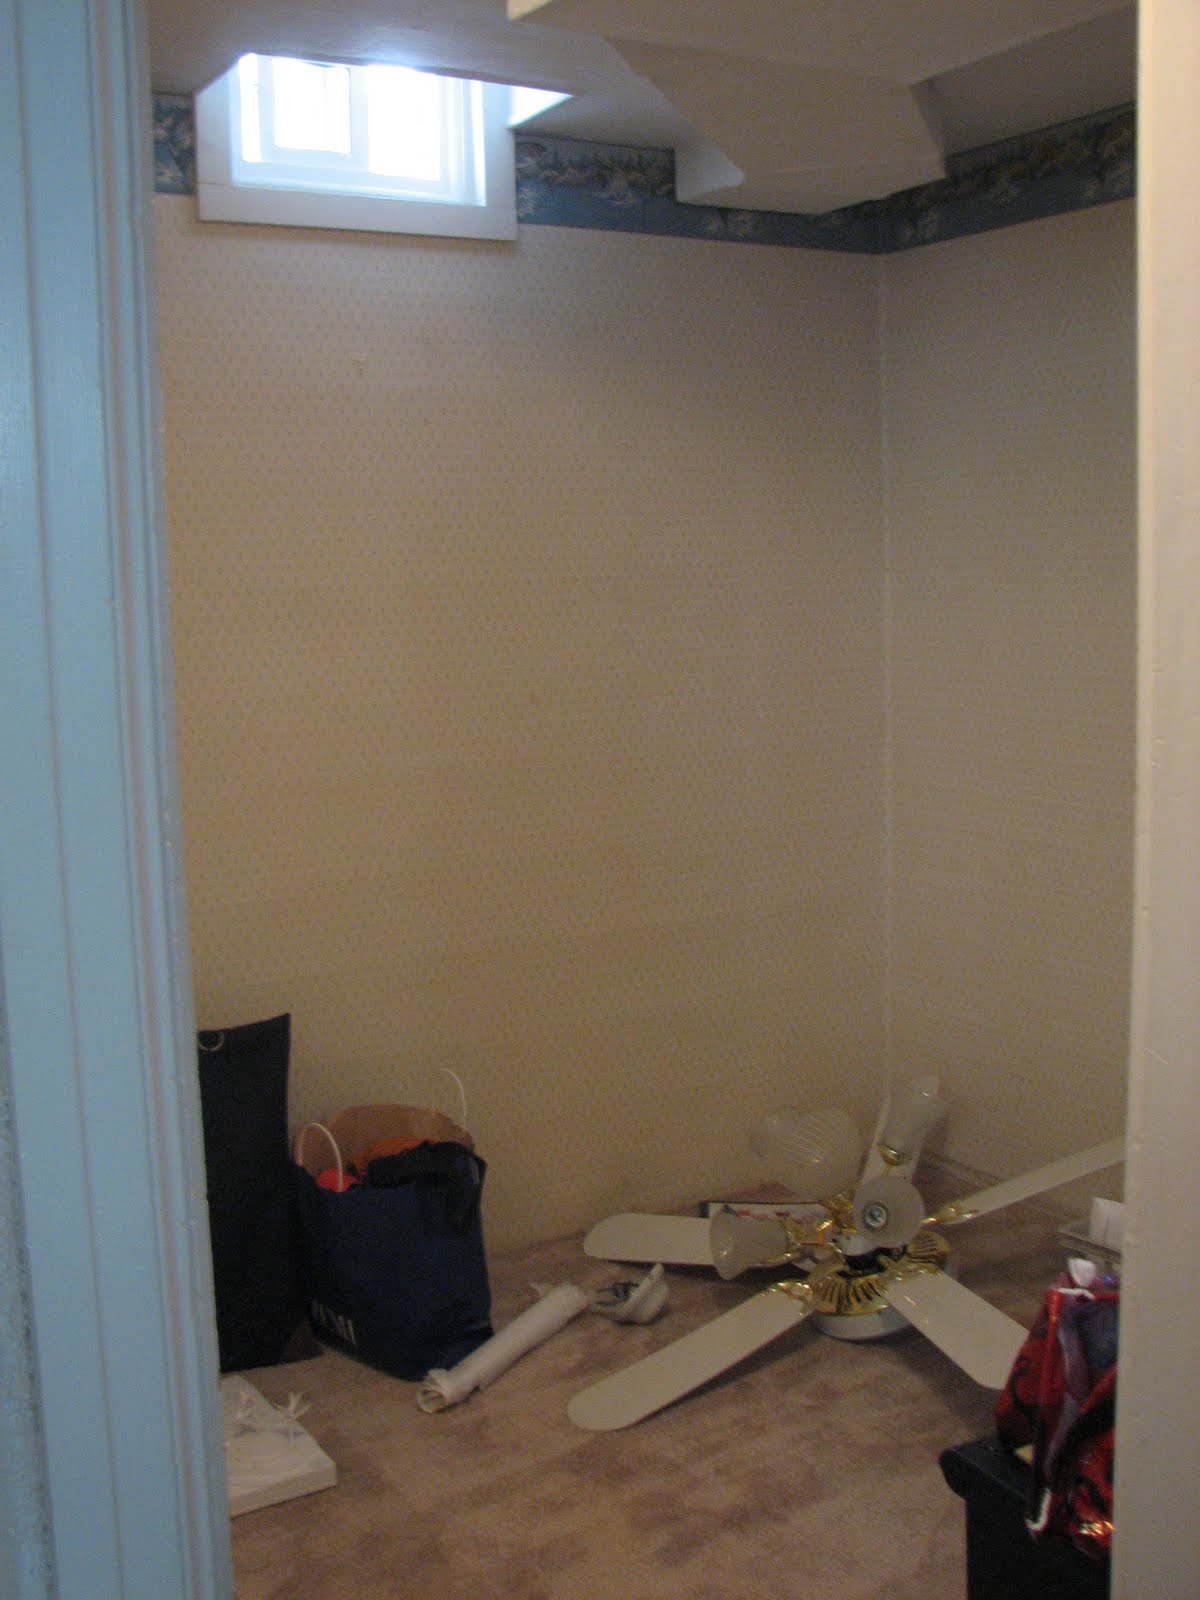
To this:


The wood flooring was leftover scraps given to us by a family member. My husband made the desk. The shelves are simply wood planks hung with inexpensive metal brackets, and I purchased the dresser off Craigslist and gave it a fresh coat of paint. We spent approximately $300 in materials, finishes, and furniture for this room.
Well, that's the tour. Hope you enjoyed it, and be sure to check out my blog to stay updated on any future projects we may decide to take on.
Are you inspired yet?
Amazing.
Thanks so much Amber, you are one talented girl :)
0 comments:
Post a Comment